To edit a campaign, you can follow the following steps,
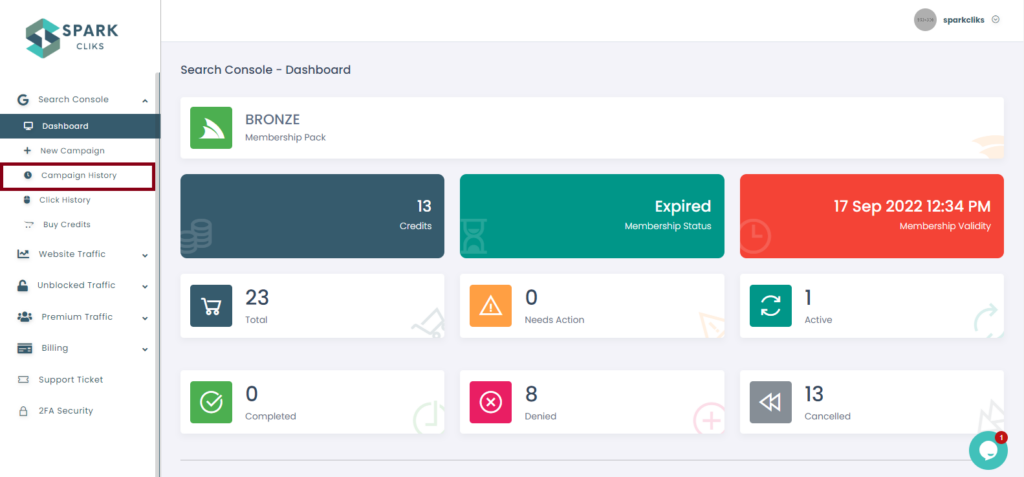
Step 1: On the Dashboard page, locate the “Campaign History” and click on it.
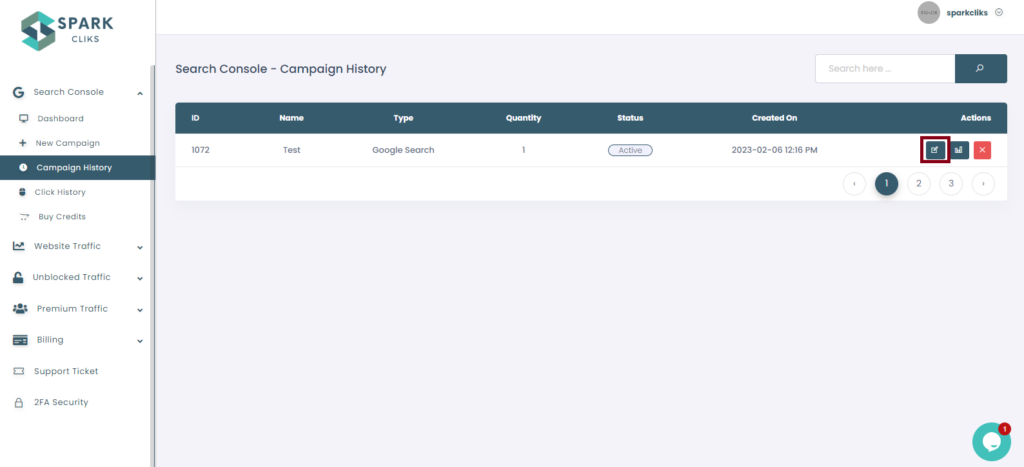
Step 2: Choose a Campaign and then click on the Edit button as shown in the below screenshot.
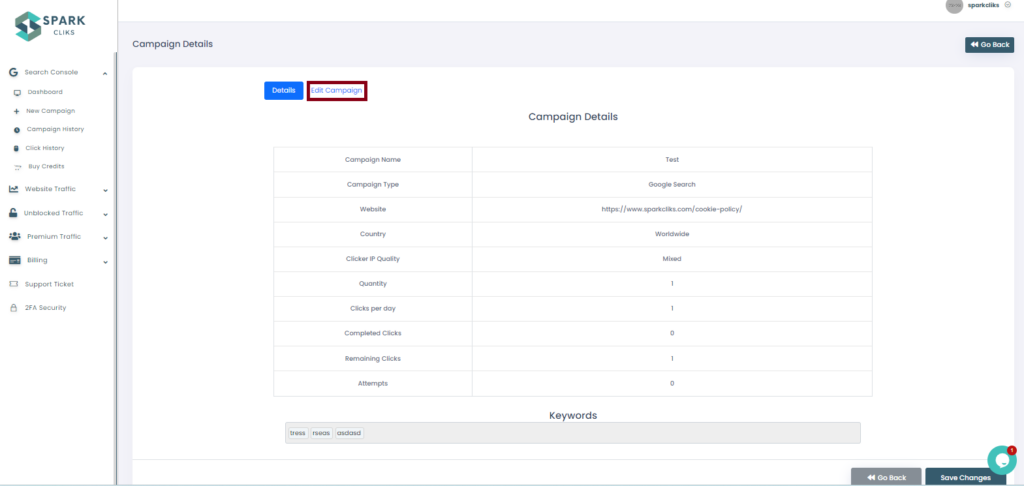
Step 3: To make changes, click on Edit Campaign as shown in the below screenshot.
Step 4: Make changes to the campaign according to your needs:
- Url/Link – We recommend you add your domain “example.com” in the “URL” field
- Url/Link #2 – You can Add a second URL in this field.
- Keyword Phrase – You should write the name of your brand to start. Be sure to choose a keyword where your website appears on the first 10 pages.
Important: Your site must be ranked in the top 100 on the keyword
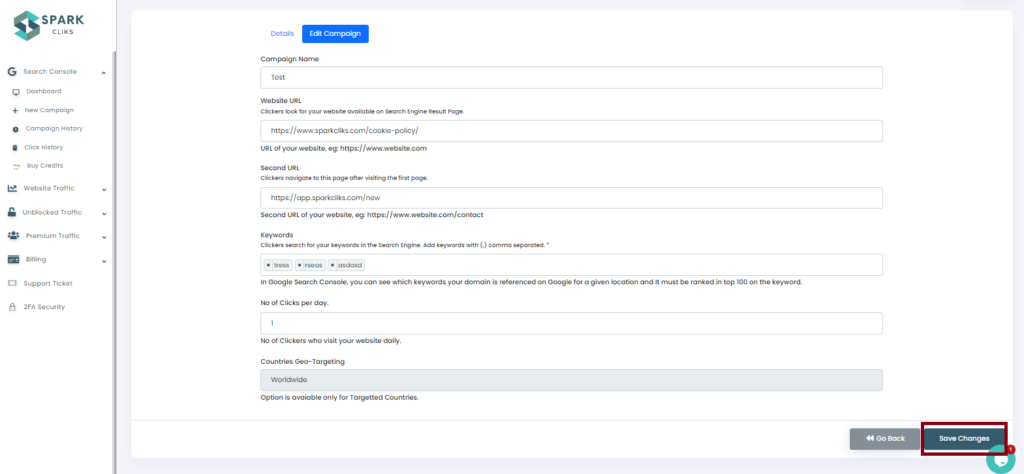
Note: No of Clicks per day cannot be changed and the Geo-Targeting option will only work if you have chosen a targeting country while you have created a campaign.